Part 1. 8 Effective Video Editing Tips for Beginners
Video editing can initially seem daunting, but with the right approach and tools, you can create polished and engaging content. Below are eight actionable tips crafted from personal experience and countless hours of trial and error to help you create polished videos with ease.
1. Choose the Right Video Editing Software
The first and most important step is picking software that matches your needs and skill level. There are numerous options available, ranging from beginner-friendly to professional-grade. For beginners, I recommend starting with user-friendly programs like Capcut or Filmora. Suppose you're ready to explore more advanced capabilities. In that case, DaVinci Resolve is a powerful option that's free and widely used in the industry. Starting with overly complex software can frustrate and overwhelm you. Focus on learning the basics first.
2. Organize Your Media Files
A messy workspace often leads to a messy video. To keep things smooth, set up a clear folder system on your computer to organize your video clips, audio files, images, and other assets. For instance, you could create separate folders for raw footage, sound effects, music, and graphics. Label your clips descriptively and chronologically - it'll make finding what you need a breeze. Stay organized will save you hours and keep your creative momentum going strong!
3. Start with a Storyboard
Without a roadmap, it's easy to lose track of your message or end up with a disjointed video. Never underestimate the power of a good plan. A storyboard video script template doesn't have to be elaborate; simple sketches or even written descriptions can suffice. Knowing what you want to achieve before editing reduces guesswork, making it easier to focus on your narrative and ensure that all necessary shots are included.
4. Learn Keyboard Shortcuts
One of the best ways to speed up your editing process is by learning keyboard shortcuts for your chosen software. They allow you to work faster and more efficiently, saving you time and effort. Each software has its own set, but some universal ones include "Ctrl + Z" for undo, "Ctrl + C/V" for copying and pasting, and Ctrl/Cmd + K for cutting a clip at the playhead position. Most video editing software allows you to customize shortcuts, so take advantage of these features to create the best setup for you.
5. Learn Basic Techniques
Instead of trying to master everything at once, focus on foundational techniques like cutting, splitting clips, adding transitions, and basic color grading. Mastering a few basic editing techniques will significantly improve the quality of your videos. Learn how to cut your own unwanted sections and trim clips to the desired length. Use transitions like fades, dissolves, and wipes to smoothly move between scenes. Practice these techniques regularly, and you'll quickly see improvements in your editing skills.
6. Trim Unnecessary Pauses
One common mistake beginners make is leaving in unnecessary pauses or filler words. These little gaps can throw off the flow of your video and cause viewers to lose interest. Keep an eye on pacing - if a scene feels too slow or drags on, think about trimming it down or cutting it completely. Removing those pauses will keep your audience engaged and make your video feel more dynamic. Don't forget that getting feedback from others can help you fine-tune your edits and improve the overall flow.
7. Invest in Quality Audio
Even visually stunning videos will fall flat if the audio quality is poor. If possible, invest in a good microphone for recording voiceovers or dialogues - this can significantly improve the clarity and professionalism of your videos. Enhance your video with background music and sound effects. Ensure the audio levels are balanced so the music doesn't overpower the dialogue. Remember, viewers are more likely to forgive poor video quality than poor audio quality, so prioritize sound in your editing process.
8. Focus on Pacing and Timing
Good pacing can make or break a video. Too slow, your audience loses interest; too fast, and they feel overwhelmed. A well-paced video feels natural and holds the viewer's attention from start to finish. Use a mix of short and long shots to create visual interest. If your video includes music, try to sync your cuts to the best for a more cohesive feel. Pay attention to how your video flows, and adjust as needed to maintain a comfortable pace.
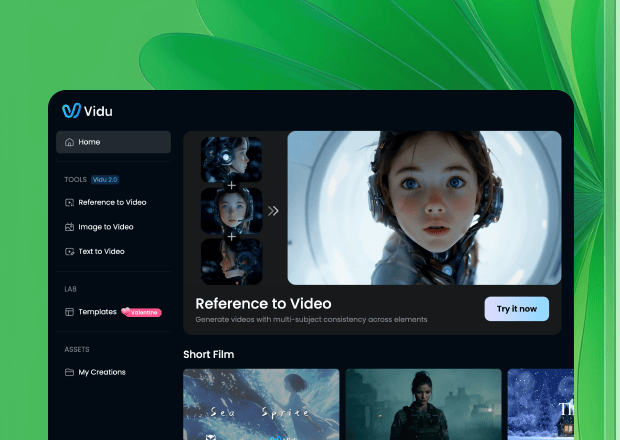
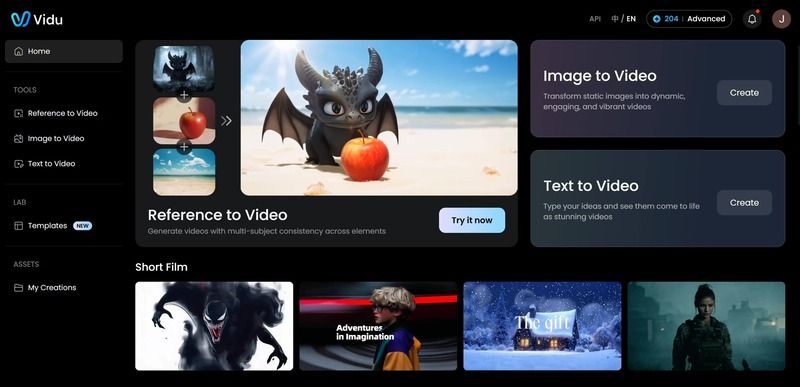
Part 2. Recommend: Vidu AI Frame Image to Video Editor
Vidu's First and Last Frame feature is perfect for beginners looking to create products and animation videos with ease. All you have to do is upload an image for the first frame and another for the last. Vidu AI video generator will automatically generate the video content in between. This tool makes it super easy to create high-quality videos in less time. Even with shorter clips, you'll get smooth lens transitions and special effects, giving your video a polished, professional look without the complex editing.
AI Video Generator for Beginners:
Step 1. Prepare Your Images
Click the CREATE NOW button on this page and choose the Image-to-Video feature. Upload an image for the first frame of your video, and then upload another photo for the last frame to indicate how you want the video to end.
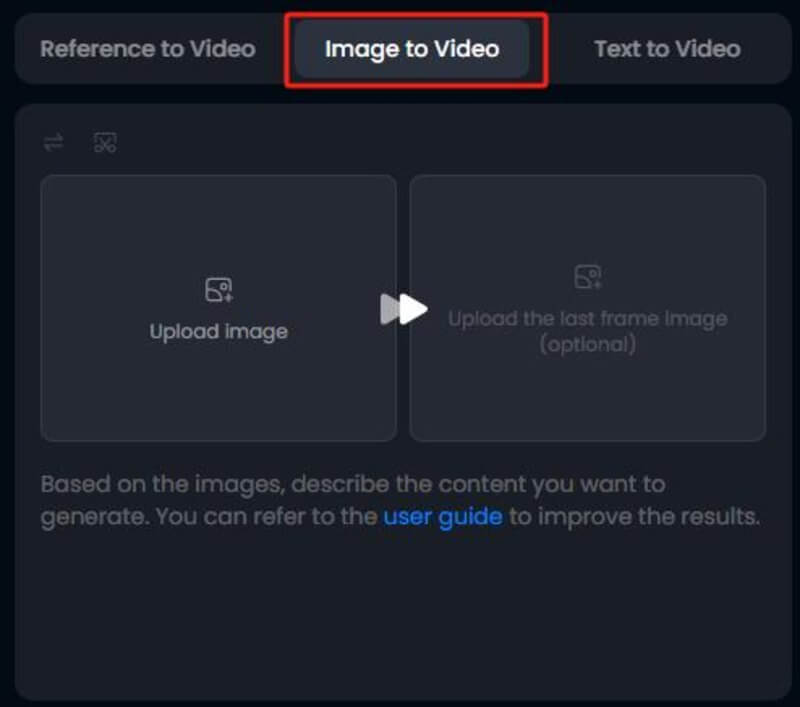
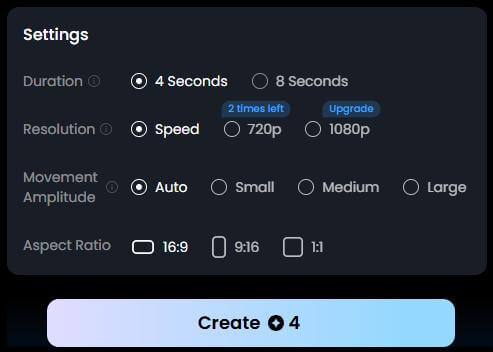
Step 2. Adjust Video Settings
Customize parameters such as video length, resolution, and movement amplitude for your video.
Step 3. Generate the Video
Click the Create button to start generating your AI video. Vidu AI will automatically fill in the content between the first and last frames, creating a seamless flow.
Step 4. Review and Edit
Once the video is ready, take a moment to preview it and tweak any final details - like timing, transitions, or effects - to make sure everything looks just right.